Wednesday, August 15, 2012

Earring holder with vintage hardware


Saving every piece of hardware you see has it's down side...Hardware is heavy.  Hardware can come in dirty.  Hardware does not always 'speak to me'...

 BUT when it comes together it can be FABULOUS!


 A pretty finished back


PERFECT!  Exactly what I needed for the wire earrings!  And when I want I can flip it upside down, open the hinge and hang it on the wall!

Where 1 is good 2 is better!  Sprinkler flower faucet soooooo cute!

LUCKY DOG!

This came together for one Lucky Dog! Actually, that being said, two snuggle buddies will fit in it... 

Denim and studs create the style and hand painted bone accents attract the 'bad boy'...perfect for the Country Rock Star dog.

A set of BIG button feet, a bit of fringe, a bunch of rag torn roses, throw on a bling here and there and time to perch like you own the place! 

The denim mattress reverses to a sharp black and white. Comes with a bolster pillow and mini faux-fur accent pillow.
 

Monday, July 9, 2012

The Throne

  Here is the 'Throne' bed.  
It's a substantial piece of furniture with ultra suede and a French phrased upholstery panel.  The headboard is from an antique mirror frame, the mirror long gone, years ago.  I just knew I would use it some day!

 Rough translation thanx to Google translation: 'when an event is banal and an adventure breaks out, it is time to tell the story'.  

The Little Guy feels regal on this Throne!


Time to get off the Throne, neighbor Jake!
The little gold crown pillow has 3 vintage crystal buttons that bling in the sunshine!

Sunday, July 8, 2012

Collections

I'm sure I'm not the only one to whom it seems there is always an event in the way of moving to the next big task.  Since Memorial Day I have said AFTER the rain stops and the 4th has come and gone I will reorganize the studio, garage and attic. 

(The no more excuses time has arrived!  Or has it? )

It's getting to the stash(es) of collections and materials piled up or tucked away for future art & craft that has become overwhelming.  I actually want and need to have the work space de-cluttered so I can move more freely as I get the dog beds made.  I do think less searching for the elements will help me, a lot!

I am distracted by the heat so I am working in the hot studio rather than purging the blistering attic.


So, as I take a break I visited Mamie Jane's blogspot and thought I would show one of my collections.  It happened during a bit of a re-do in thinking in how to use vertical air space; here is a stack of vintage tablecloths and a jar of creamers looking pretty on the kitchen display shelves.

Satisfied with myself having pulled things together and happy to repurpose the big glass cylinder previously for large flowers arrangements:

Creamers: they will be enjoyed on a vertical view!
The studio and garage and attic can wait for a cool down and I still made progress, right?

Saturday, July 7, 2012

A real sparkler of a 4th

Our tradition of celebrating the 4th of July is both exhausting and exhilarating.  The dishes are finally clean and the yard once again bottle-cap and debris free.  


Without 'Picnic Style' we would be hungry!  Our being able to host these backyard parties depends on the older generation bringing the side dishes as the 21+ fill up the iced kiddy pool & coolers with beer!  

Even The Little Guy celebrates! He loves the flannel fabric on this Patriotic Pup Bed

 The tradition continues and the yard is in full bloom!  Of course, when we forget about all of the work and do it again next year the only suggestion to guests is likely to be the usual:
  • Wander over to say 'hey' with a drink in your hand
  • Wanna stay awhile? Bring a dish to share
  • Want protein? The grill will be lit (and tended) throw it on, sit down and be served by the talents of the man of the yard! 
As hostess I wander and wander and enjoy all the conversation and activity. 

Every year on the days following as I load and reload my dishwasher I make a mental note: 
'At the end of the evening ask guests to take their side dishes with them, so, I don't have to remember who brought each container to return!'  Okay that's not the full truth...so I don't have to clean them!  

Maybe next year I'll say if you leave your Crate & Barrel casserole THANK YOU, I Love IT!


Maybe next year!

Sunday, June 3, 2012

Pampered or Spoiled?

So excited I am now collaborating with a fantastic shop keeper who is carrying these little pads for you pet-pal!  


 Pillows are reversible (black/white flips over to hot pink bubbles with a coordinating plaid box; trimmed in lace and fringe.)

AVAILABLE: Pink Four-Poster with Bow
 Interior is 21" x 12" so the perfect fit for your 'toy' breed (Pug, Toy Poodle, Jack Russel, etc) and
has the CUTEST hardware and comes with a companion pillow stuffed in feather down just for you!

We would LOVE to ship one to you!

We offer custom orders or, select a finished product and we'll decoratively paint it with your pets' name and a word or two that best describes your relationship: pampered, spoiled, buddy, purrfect, etc)

Hand crafted in the old school way each is individually made and takes about 6 days of thoughtful design & labor PER finished product.  We can ship available items with-in 2 business days.  

For Custom orders allow 4-6 weeks to your door! INQUIRE regarding 'time til ship' on custom pieces; please reserve yours!


AVAILABLE: The Little Guy!
this will fit your small buddy: Chihuahua, cat, mini Pinscher, etc


Has a nice vintage yellow and black.with a custom backboard full of critters to keep your little guy company!  Stenciled with 'Perky' on one side and 'Perch' on the other.  (I will add a picture later, just noticed I did not get a photo of it and it's at the shop!)

So, the question is what's the difference between Pampered and Spoiled?  Your comments welcome!
~~~~~~~~~~~~~~~~~~~~~~~~~~~~~~~~~~~~~~~~~~~~~~~~~~~~~~~~~~~~~~~~~~~


Thinking "I can do this!"?  Here's what you'll need:
  • about 20-40 hours of hands on production time with 4-6 days for curing time, etc
  • an eye for product design and time to search for
  • the ability to re-finish wood
    • sand
    • stain
    • paint
    • finish
  • accurate measurement & creation of headboard
  • secure installation of posts and feet 
  • Sewing Knowledge and Experience
    • tufted mattresses
    • pillows
  • know-how for applying decorative Hardware and Paint

If you checked 'got it all' on the above list, the skill & confidence is there:

Here is the list of electric tools I use:
  • table saw
  • jig saw
  • sander
  • reversible drill
  • scroll saw
  • Sewing Machine (I use a Bernina)


Wednesday, April 18, 2012

Curly Willow Heart

A project for my booth at the Farmers Market which is opening up the first weekend of May, just in time for a fine Mothers Day!

Nature provided lovely curly willow!  These have been coaxed into a heart shape that measures about 24".

Embellished with about 1/3 - 1/2 yard of pretty cotton fabric strips hand torn and wired for a vintage look they become a pretty floral that waits to brighten moms day. 

Each has been embellished with something fun and while it takes strong hands to wire and some time to create, I simply know when each one is done when I smile at it!


Each fabric flower is wired so can be swapped out depending on the season or message.  The yellow one is HAPPY with a little daisy touch; the Country Blue has a pink strippy rose flower.  Both have hanging wire for easy installation.

Saturday, March 24, 2012

Home of the Brave Courtyard: Welcome Home Soldier!

In a previous post I mentioned I was not sure how I would use the Home of the Brave sign.  Thought I would show you...

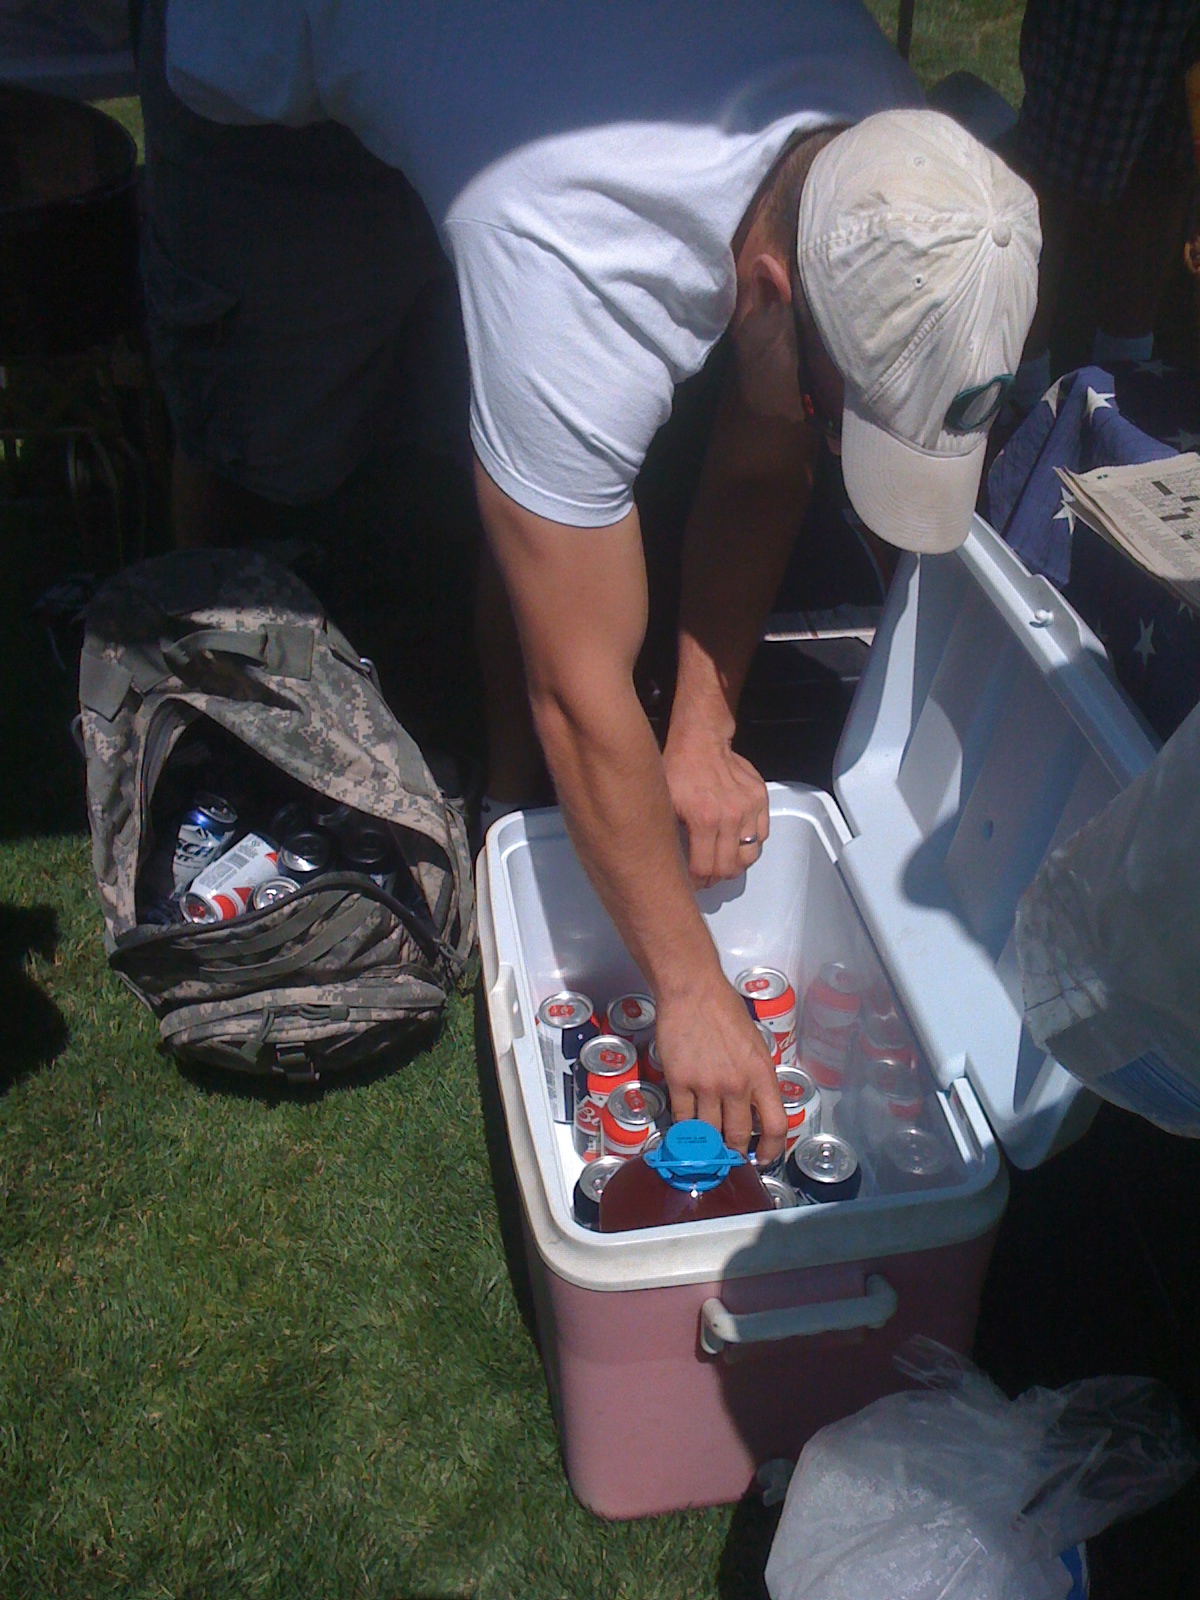
I put together a very large 'woods inspired' wreath (hubby calls it 'the weed') with moss, pussy willows, bark, branches and lovely natural natives of our area.  Attached the flags and sign and waited for 'leave' when our soldier drove 1400 miles in 20 hours to get here!  He noticed and smiled, shaking his head, "You put that out there for me didn't you mom?"...I know he loves these touches!

Tuesday, March 6, 2012

Home of the Brave


This is the lid to a 12" x 7" Vintage wine box.   It's been in use in the garage for decades and eventually, due to the humid climate, it no longer slides onto the box itself.

'Sonoma Valley Wines from Sebastiani Vineyards' on the original top and painted and stenciled 'Home of the Brave' by me on the reverse.  'Home of the Brave' because in this case it is true!

Not sure how I will hang it; I like that it's two sided, but hanging it will hide the wine-side.

I'll clarify:  the box is vintage; the wine loooooooooong gone!

Thursday, March 1, 2012

Is it finished?

Hmmm, since the white on this painting photographs blue-ish I am wondering if I am just not finished.  There is no blue in this room! I was going for a lattice-like affect.  Did I capture that?  Hmmmm?

Saturday, February 18, 2012

Large Painting with Herring bone treatment

48 x 36 un-finished painting on canvas

Needs something....like tape...

2 sessions later this is the progress, it's gonna take time!

This will eventually be where it'll hang, uh oh! 
Clearly, I have started a new project without finishing the last one!  But then, this is a pick-up of a previously abandoned project!  My garage is simply too cold for painting...
So now, 2 projects in the blog for a future un-veiling! 

Sunday, January 29, 2012

A Vintage Wicker Rocker!

This is a fabulous vintage rocker with bones I found last summer at the end of a driveway tag sale.  I circled and walked away due to the price but that rocker was on my mind all evening and the next morning I headed back to the sale and nabbed it at half price!
The gal that sold it knew what she had and simply never got around to the redo. She admitted I was the only person to show true appreciation yesterday and that was why she let me have it for less in the morning.  
Check out the very old fabric on the floor of the seat.  This has to be from about the 1890's!  The first thing I did was put on a mask and gloves and pulled off all the very old fabric and inner stuffing fibre; un-processed cotton batting; dried hay and horse tail (anyway, I hope it was horse tail!).
I did not photograph the process of tear down....

 Pulling out the teeny tiny nails was not easy!  I used a very small flat screw driver to pull up the little nail heads and pliers to pull them out.  It took me about 6-7 hours over 3 days (because it is hard on the hands) to get as many out as I could get to.  I did not save the nails but now realize those are a 'vintage' item, too (but, I mangled many of them so, oh well)!

 The next step was to restring the springs.  Maybe I'll photograph that 'how-to' on a future piece (I have now done it three times).
I updated the method and used plastic zip-ties instead of string and will confess here that form worked well here and I am likely to do that from here on out!

This project is NOT finished and I need to find just the right fabrics for the cushions and promise to update as that happens this spring! 

Saturday, January 7, 2012

Little table with wings...

When you land a fabulous find it can be a bit scary to just get going.  Using caustic materials can be intimidating but if you use the right protection and ventilation you'll be fine! 

I found this little table at a yard sale for $6; it really had seen a better day. But as they say, 'it had bones' and cute hardware.

I had no plan in place but knew I needed to strip the little table of its remaining varnish.

Supply list: Use the right product (if you are stripping a piece of painted furniture use lacquer remover, etc) I purchased: 'varnish remover' (ACE Hardware, about $10); a heavy duty pair of rubber gloves; steel wool.  

You can buy a plastic scraper but I just cut the lid from a margarine tub in half so I had two 1/2 circle scrapers.  remove the hardware and USE YOUR EYE PROTECTION because you could accidentally flip a bit into your eyes and that would not be pleasant.

Follow the instructions on the can of varnish remover and be sure you are away from an ignitable source (furnace pilot light) and that the windows and doors are open!

Once your surface starts to bubble just start scraping it off.  Do NOT use anything metal as a scraper but you can use a tooth brush to get into small grooves and the steel wool to really grab the hard to get to areas. 
I used the margarine tub to scrape the gunk into it

 I then gave it a very easy sanding with a fine sand paper and then got a bee in my bonnet and instead of re-varnishing it I sprayed it with a can of 'almond' spray paint and hand painted the little bead trim with my current fave accent color (aqua).  After a few days dry time put the hardware back on and..

here's how it looks today...
 
I've decided this little table may still be a work in progress because of the almond color I think it looks a little 70's-ish.  I am not quite ready to do another step but it is likely to be a distress hit on it by sanding around the edges, etc...but that can wait.

Friday, January 6, 2012

Birds Nest Teapots

I have a rather large collection of vintage linen 'calendar tea towels'.  They are always showing up in one place or another around my home.  This past Christmas I used my feather birds as the theme in my dining room and worked in some of the tea towels...can you see where I used them?
I centered the tables with Birds Nest Teapots (actually 2 teapots, 2 coffee pots and 1 chocolate pot)...do you see the tea towels yet?


No more guessing...this shows the materials used for the centerpieces. The tea towel was rolled up on the diagonal and wrapped around itself to become a nest which I set on top of moss.  This one got 2 small egg shaped soaps and a ribbon and all were finished with a branch of wired bead and crystal sparkle that acted as steam coming out the spout.

 Some of the other pots lids have Christmas embellishments that can be swapped for another season...

...this one will stay out through Spring...

2012- To put it simply: time to get started.

At some point I guess I have to listen.  Friends compliment me on the way I make stuff...I suppose it's called 'style'.  Of course, everyone has style but this is just the place I'll share inspirations that get me going along in my Rainheart Daze way and most of what I place here I expect will fall into the DIY category. 

This will evolve but at the outset I want to share things I've made because making pretty things is very satisfying.  Finishing a project, even more so! And hey, if I blog about it, it may hold me to the fire!

Cheers to using lessons of the past to avoid as many creating mistakes as possible; clearing away rain clouds and distractions and finishing at least 1 ambitious project a month!